Shaping Tortellini
Posted on 11 Apr 2014Tortellini is simply one of many filled pasta shapes, but it involves a bit more work to shape than others (such as ravioli). So if you’re into the meticulous, then you’ll enjoy these. :)
Instead of placing a filling between two squares of pasta & then sealing (ravioli), tortellini makes use of one square folded onto itself into a triangle which is then pinched into a “navel” shape.
Things you’ll need
| Amount | Ingredient | Notes |
|---|---|---|
| 1-2 kg | fresh pasta dough | that you may have made earlier |
| 1-2 cups | tortellini filling | that you have made earlier |
| — | flour | for dusting |
| — | a small pizza wheel or knife | using a pizza wheel makes cutting a lot easier |
| a small bowl | water | for sealing the individual tortellini |
Directions
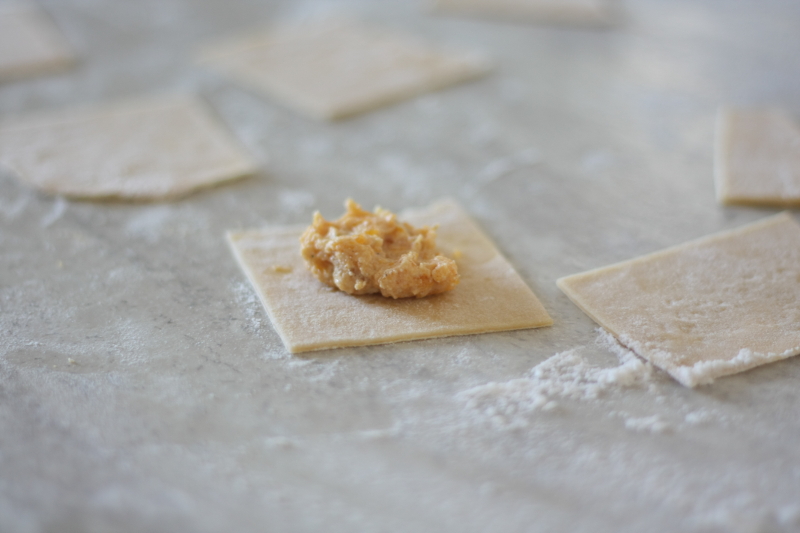
- Set aside a small bowl of water. Next flour a clean, dry surface, such as a countertop, table or large cutting board. Dust the pasta sheets with flour & cut into ~3-inch squares and scoop approximately 1 teaspoon of your filling into the center of a pasta square.
- To seal, dip a finger in the water and then dampen two edges of the pasta square –the water makes the dough slightly gummy so it will stick to itself. Fold one edge over and starting in the smaller (~45°) corner gently pinch it close.
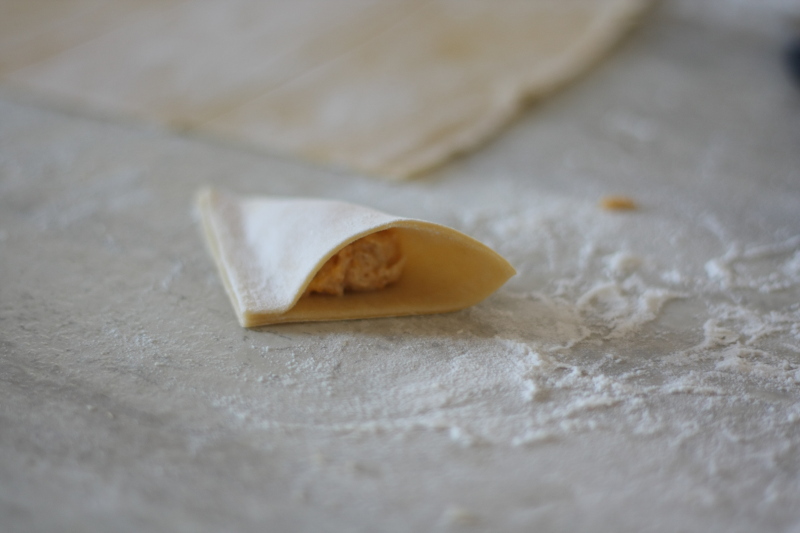
- Next, gently pinch close the other side, starting at the larger (~90°) corner. If you’ve added too much filling it will squirt out, but that’s alright, just wipe it away.
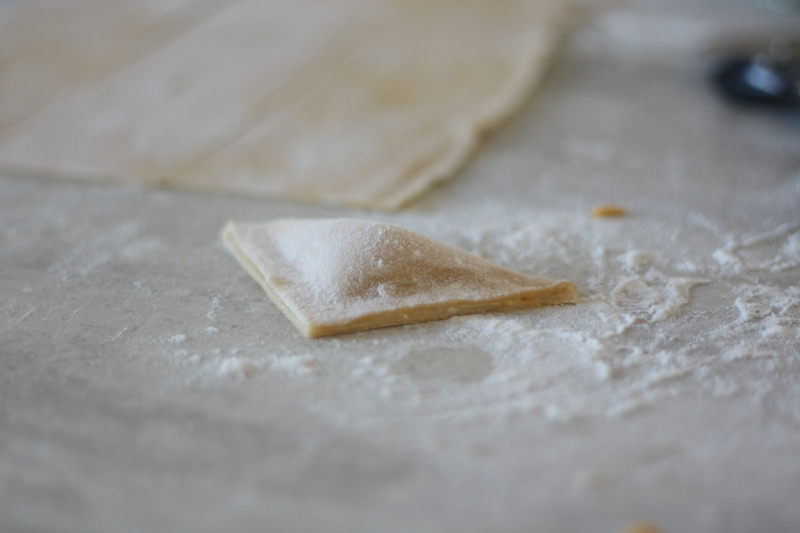
- Flip the half-formed tortellini over so the flatter side is facing upwards. Wet the two opposing corners and fold each towards the center (with overlap). Pinch them together.
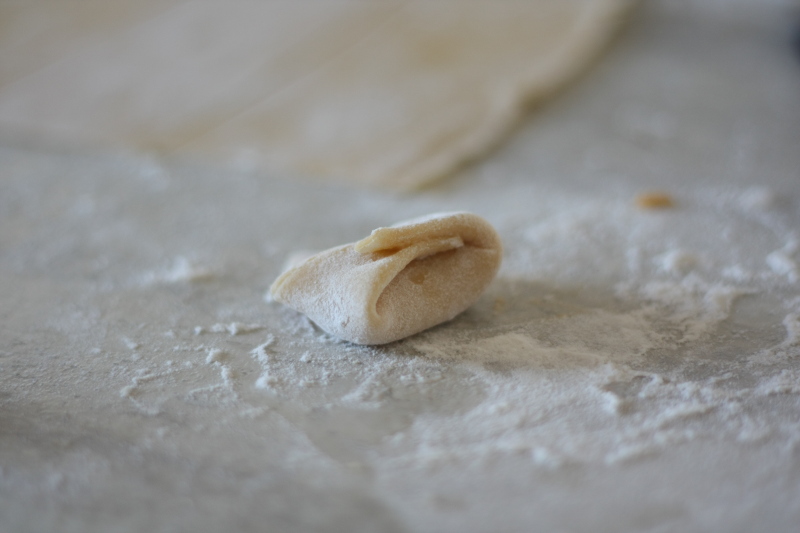
- Transfer each completed tortellini to a well-floured tray where they can remain like this until you’re ready to cook them.
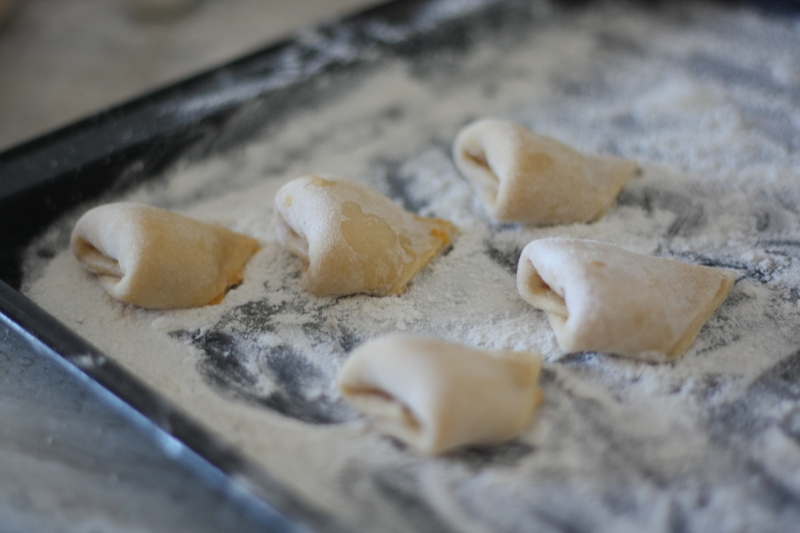 The tortellini can be refrigerated in this state for a few days, or frozen for months. Upon cooking, drop them into salted, boiling water and when they start to float they will be cooked –they can be still frozen at this point (had you done so).